It was quite a feat to plan a special party for our boy since the last time we gave him a party was 4 years ago, on his 7th. For some reason, I thought of giving him a party but was concerned at what type of party my tween boy and his friends would enjoy.
Then Google showed me the way and led me to links for A SPY PARTY!!!
Then Google showed me the way and led me to links for A SPY PARTY!!!
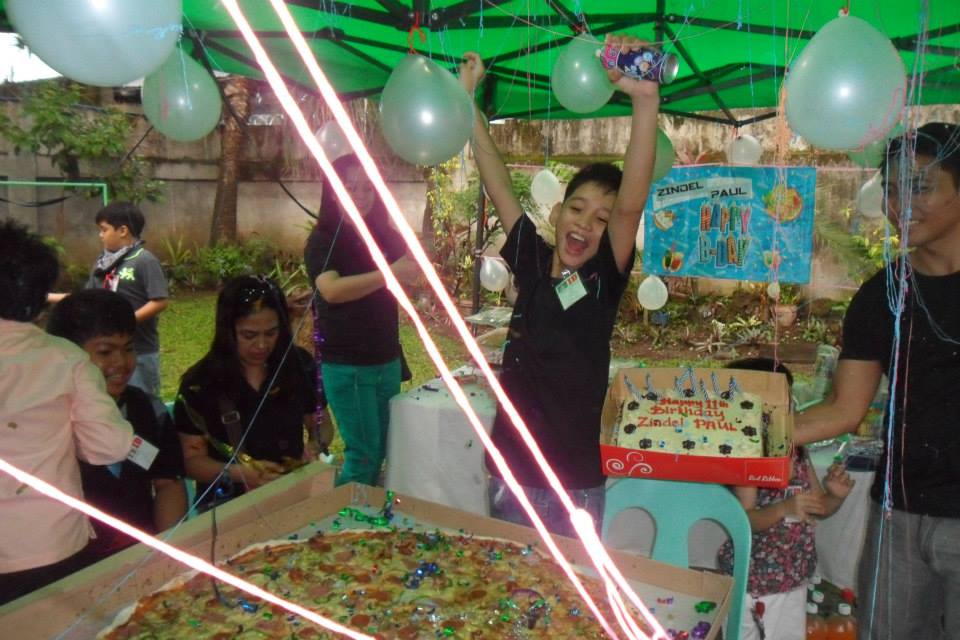
On top of this blog is shown a photo of him with his mocha birthday cake from Red Ribbon and Extra Super Napoletana Pizza from Calda Pizza, surrounded by balloons, spray strings, and confetti... and of course, family and friends (not shown here).
Allow me to share with you what transpired during the party and how we prepared.
Allow me to share with you what transpired during the party and how we prepared.
If you were Z's guest, you would have gone through the following:
Recruitment
Z gave this invitation to his friends. I used Microsoft Office Publisher to do this, then printed on our inkjet printer.
I've covered up some sensitive information :)
I've covered up some sensitive information :)

| As kids (in their spy costume, of course) arrive, they register and choose an alias and ID photo. They'll have to choose two (2) words and combine them to a cool name. I used ordinary nouns like colors, vehicles, abstract things, etc. I gave a sample for the kids like Black Eagle, etc. The kids also get to choose from among photos of spies (which I got from Google images) See my son's alias and chosen photo on his ID on the photo on the right. He chose "Victory Jet" as his alias. --> Below, an ID is shown with the name "Titanium Cadette". That's my ID :) |  |
 | Once they have their IDs, they are given their spy kits composed of: - ID with their chosen spy photo and alias - mini folder labeled "Confidential Files" and containing the name of the spy agency (of course, formed from Z's initials) - mini notebook - ballpen - flashlight and compass - hook - big scarf / bandana These serve as their loot from the party too (so, it's double purpose!). |
Briefing
At the appointed time, we gathered all the kids (who were gathered around a table outside the house, er training facility. I showed them a Powerpoint presentation for the mission briefing which I had prepared.


Training


The kids' mini folders contained their training modules:

To create the laser light obstacle, we threaded red yarn along the living room hallway. We also darkened the house by covering the windows with black garbage bags and cartolina and placing red cellophane on the pinlights. This is why the pictures have a red glow.

| For the target practice, we separated the dining room from our kitchen by hanging strips of red and black crepe paper. We used the dining table to set up the targets. These came along with the toy guns (which shoot plastic darts) which I bought at the public market. Hubby placed and taped them on a heavy piece of wood. He practiced with them too to ensure that the setup was just fine (or perhaps, just so he can have a piece of the fun too!). I would have bought Nerf guns if we had the budget for them. They would have made great giveaways to the kids too. But in my country, one Nerf gun is more expensive than a birthday cake! So we bought the cheap toy guns instead. |  |
 | For deciphering coded messages, we gave them these decoders. The template for this, I got from the internet (but I'm sorry I forgot to copy the link... please do comment if you've found the link to this). I just printed these on thick board paper, cut them out and inserted a wing-type paper fastener in the center so the kids can turn the inner circle while decoding. |
Watch out for the second installment of this super late post to know about how the kids went about their mission. Happy planning! Happy spying! :)
 RSS Feed
